I know, I know.... It's already January 3rd! Your phones, tablets, and computers are ready to put away their Christmas decorations, but Michele hasn't got their January attire ready yet. My apologies. I've been playing Photoshop. (I've said for years that Photoshop is my version of a video game. As soon as I click on that little icon, I get sucked in and lose all track of time, just like a gamer.)
My son told me about Photoshop's "Magic Wand" a couple of years ago. He was a bit bewildered that I did not know how to use it. His exact words were, "You don't know about the Magic Wand? Prepare to have your mind blown." That's how cool the Magic Wand is: I remember, word-for-word, being introduced to it. I still think it is mind-blowing, especially when I'm able to do something like I did for this calendar!
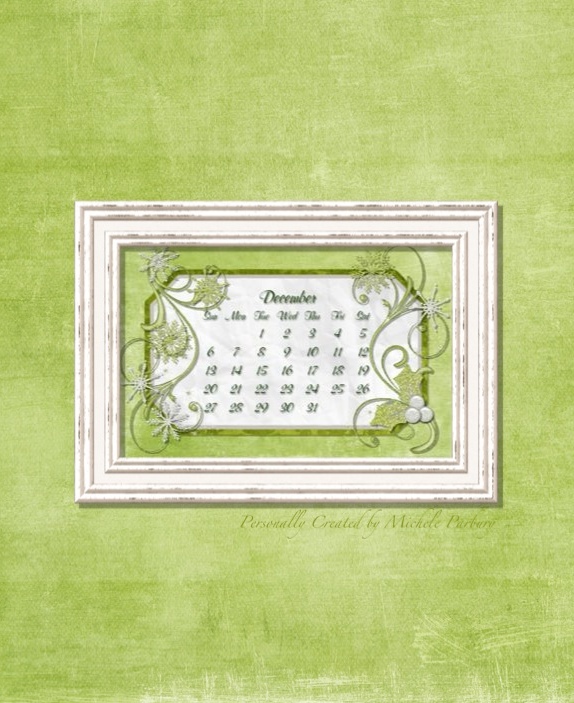
The snowflakes in this calendar were crocheted by my 92 year old grandmother! Aren't they beautiful?! She made a dozen for me many years ago, but they were lost in our garage fire in February, along with most of our Christmas decorations, so SHE MADE MORE FOR ME! I have The Best Grandma. (Hi Grandma!)
So anyway.... I was able to scan in the snowflakes and use (you guessed it!) The Magic Wand to remove all the background around each snowflake and in between all the stitching with just a couple of clicks of the mouse! Now I have digital images of some of Grandma's snowflakes that I can use over and over again. How cool is that?! Each finished snowflake is saved as a png file, so it's just the image--no background. I'm not sure how this will show up, but I'm going to give it a shot....
Now, back to the calendar. Your phones are probably getting impatient. Here is one for your iWhatever:
I hope these ^ have been working for you. Sometimes phones and tablets blow up the picture so big that you can't see the whole calendar, so this way, the empty space around the edge is all that is off the screen. (Hopefully.)
And here is the desktop version, with all that empty space for your icons.
If you'd like to see more of my family's hand-crafting skills, click over to last
January's calendar, where I used a photo of the quilt my mother-in-law gave me for Christmas. Beautiful!
Here's to a wonderful 2016 for all of you! Thanks for stopping by!